Customer Returns
You can create a Customer Returns inventory log if a customer decides to return an item for any reason.
To create a Customer Returns inventory log:
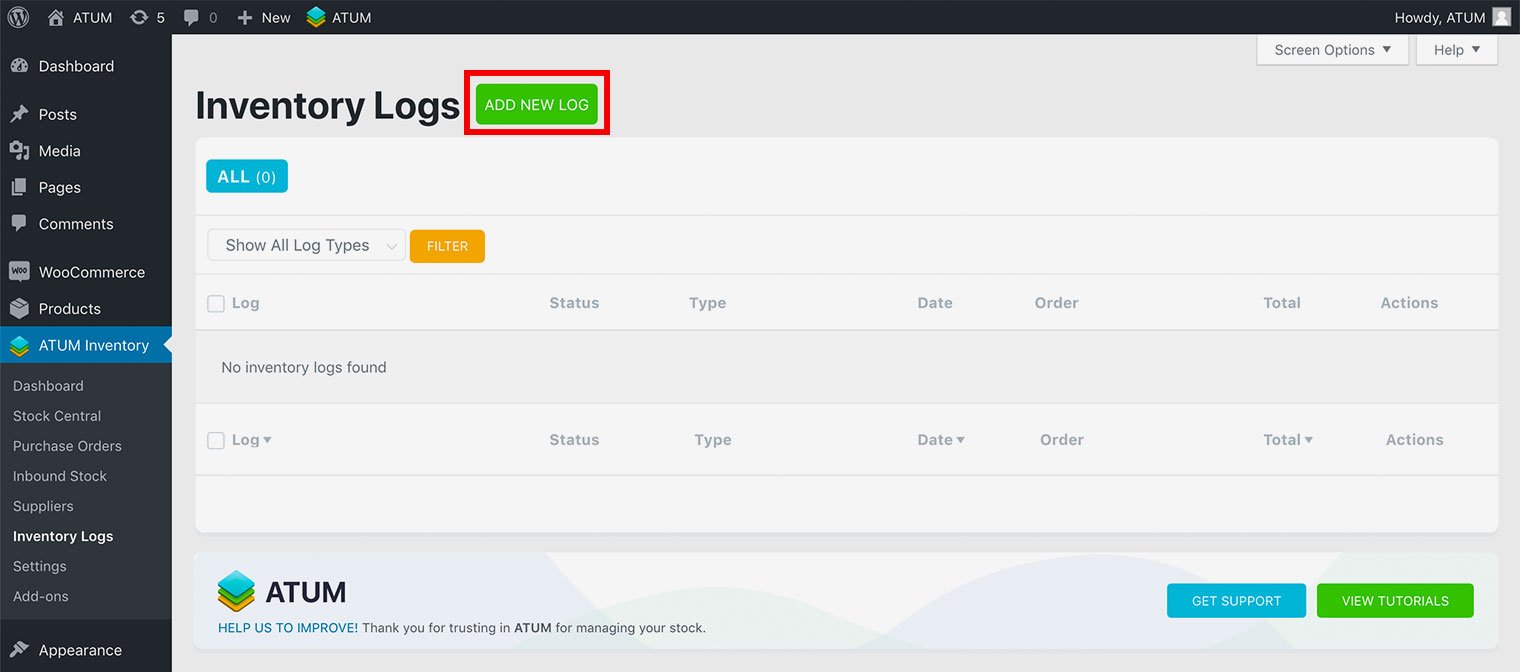
- Go to ATUM Inventory > Inventory Logs.
- Click Add New Log.
- Select Customer Returns in the Log type menu.

- Edit the date in the Log date field, if necessary.
- Enter the Return Date.
- Select Pending in the Log status menu.
NOTE:
This status makes it viewable in Stock Central. Once you receive the product from the customer, you can mark it as Completed, which removes it from appearing in Stock Central.
- If an order number is associated with this log, enter the order number in the Order field.
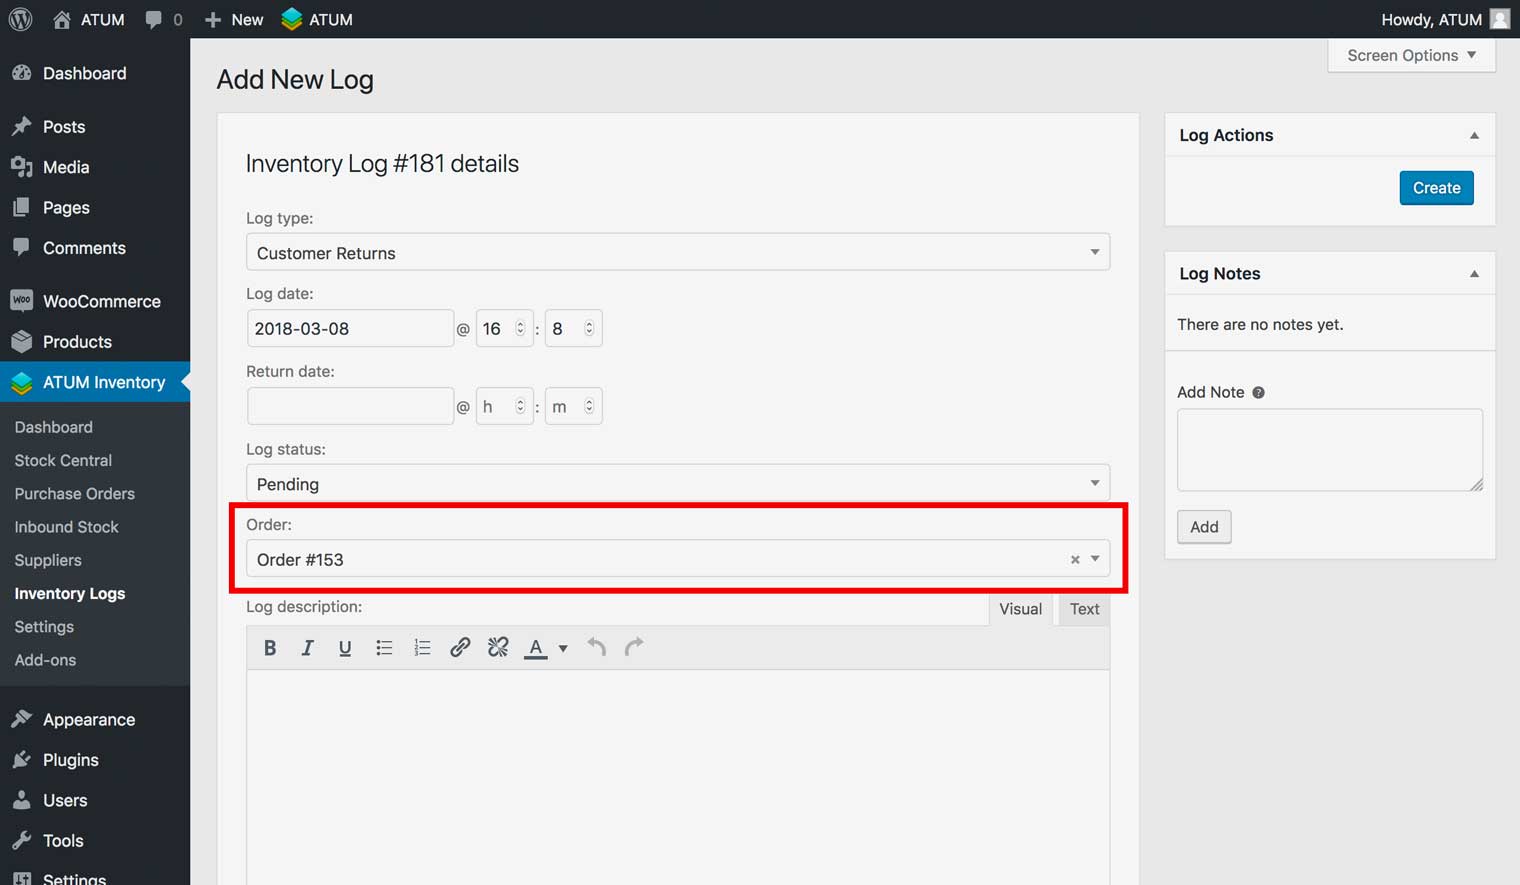
NOTE:
This field acts as a search field for all of your orders, and displays any orders that match the text you have entered. You must enter at least three characters.
- Select the order number, then click Continue, and then OK to import all the associated items with the order number.
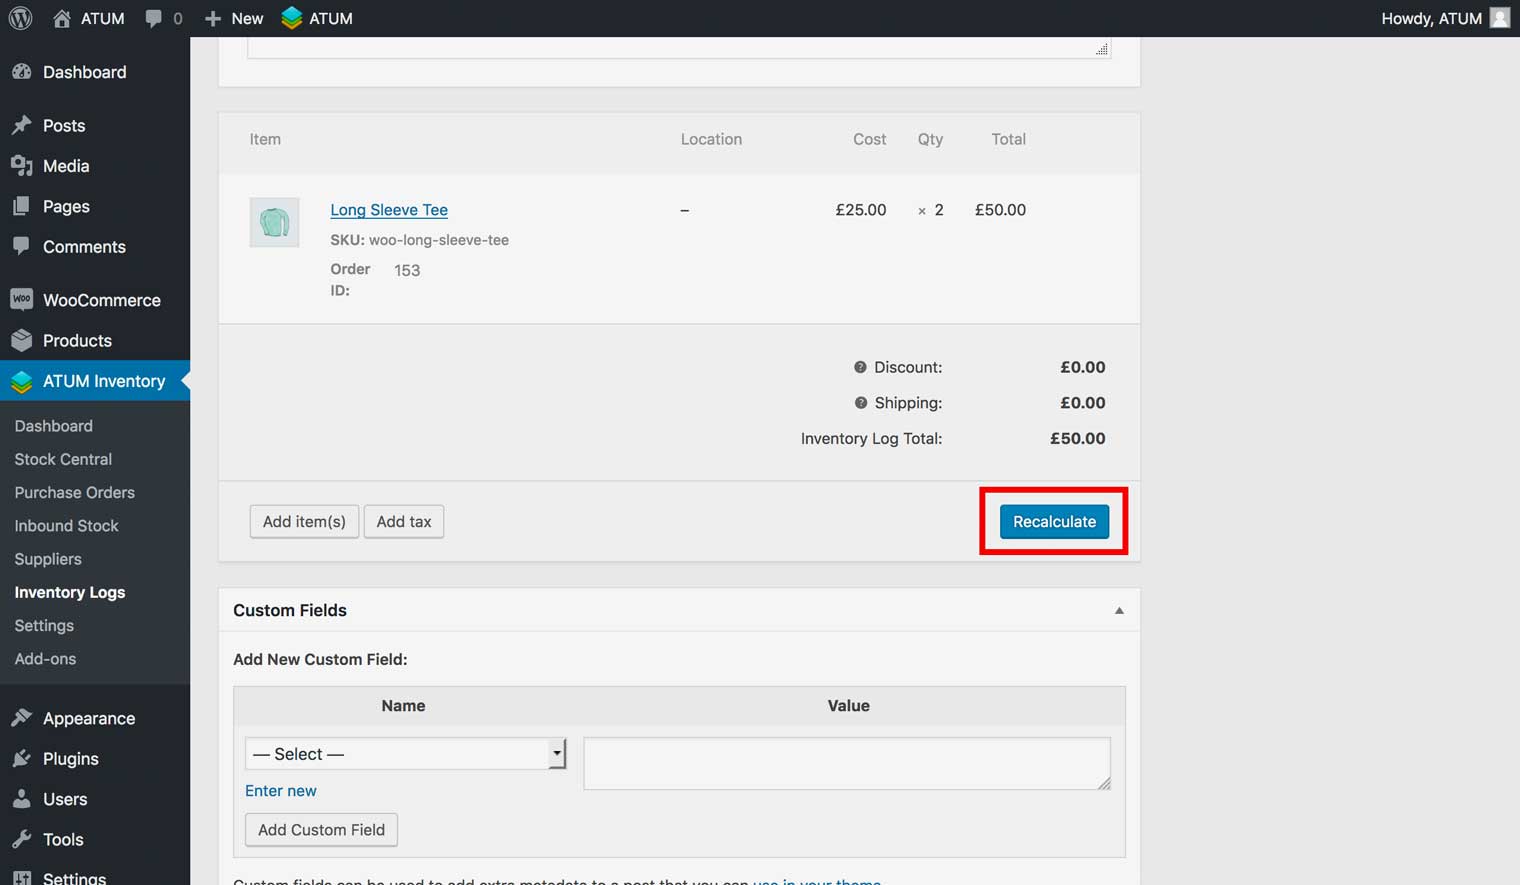
- Edit the information for the order, if necessary, and then click Recalculate.
- (Optional) Enter a description in the Log description field. Note: For example, you can enter the name and/or location of the warehouse in this field.
- (Optional) Enter information in the Log Notes field, and click Add.
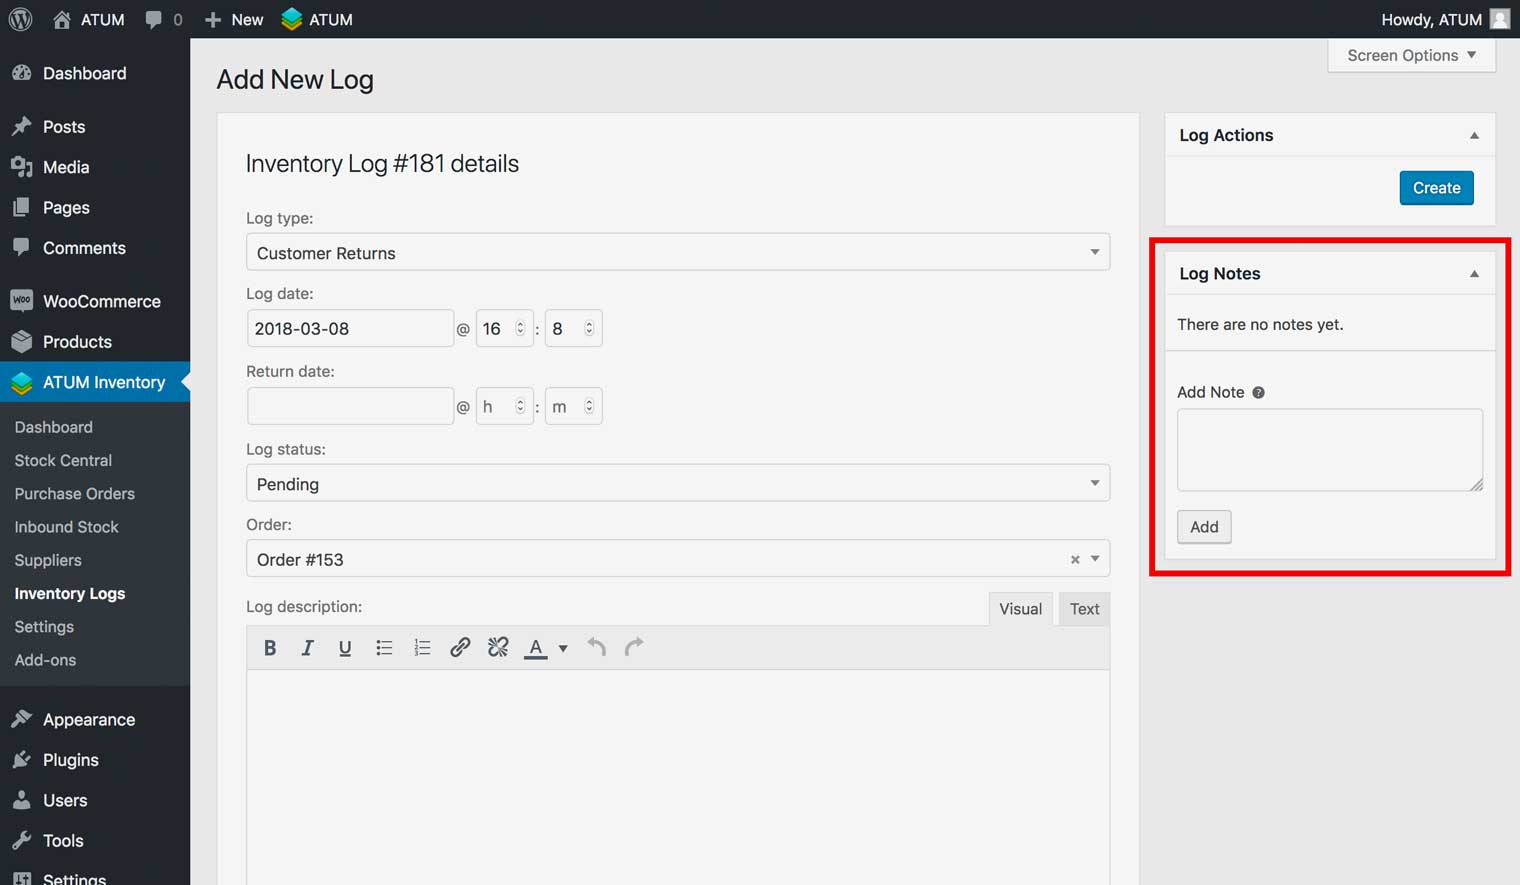
- Click Create. The log now appears in the Inventory Logs page as a Customer Returns log.
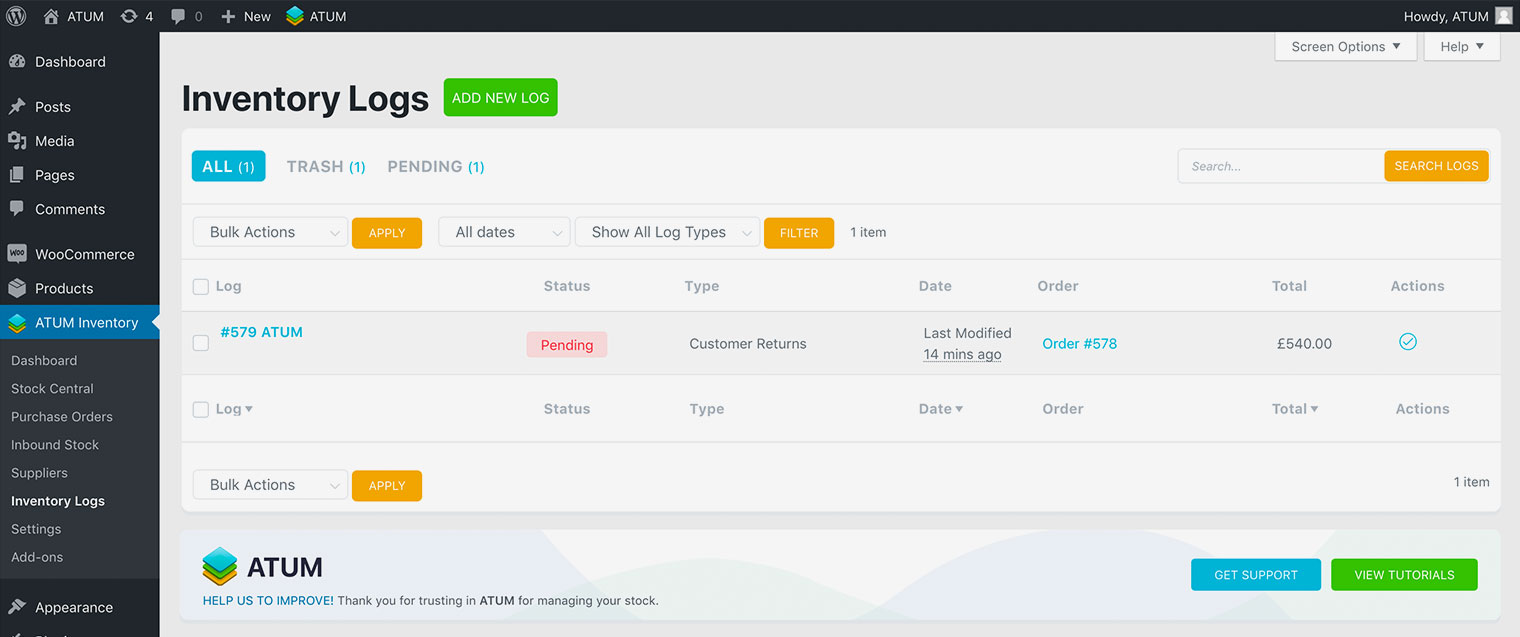
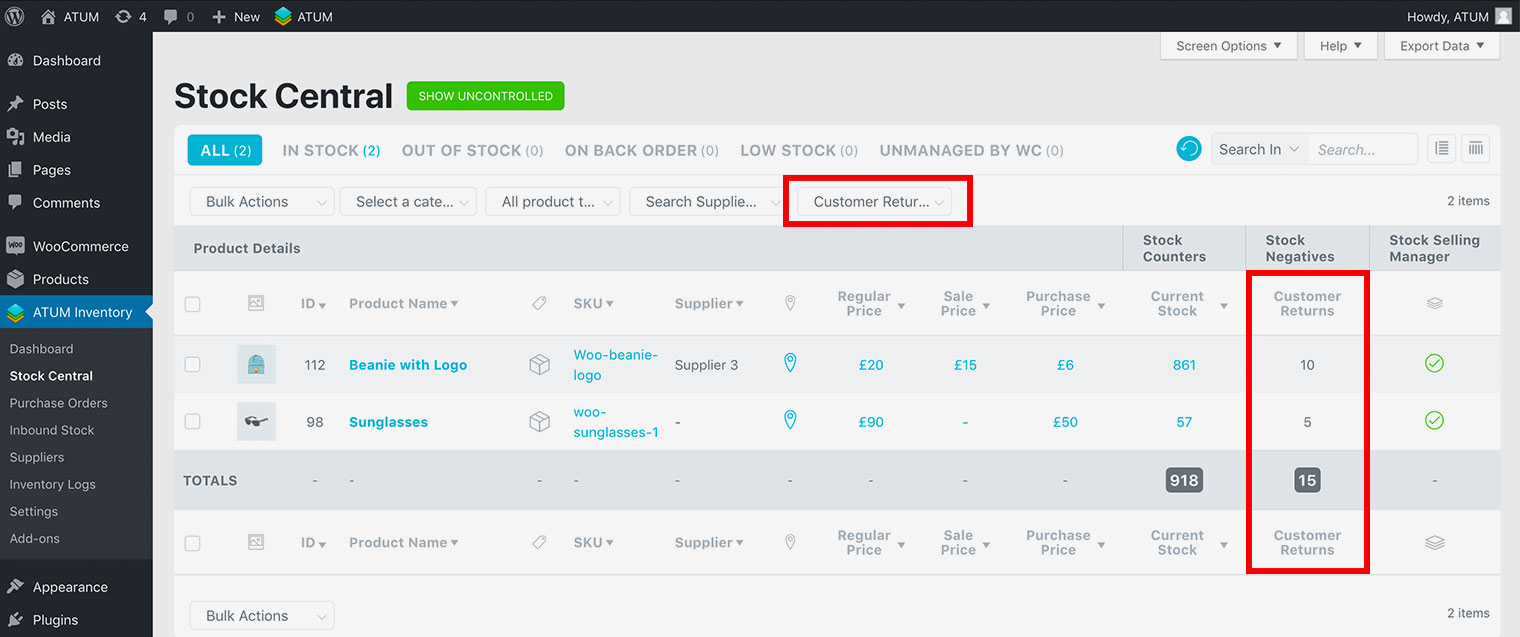
NOTE:This also appears in Stock Central as a Customer Returns inventory item. You can filter Customer Returns items by selecting Customer Returns from the right filter menu at the top of the screen.

COMPLETE THE INVENTORY LOG
After you have received the returned item from the customer, you can mark the inventory log as complete.
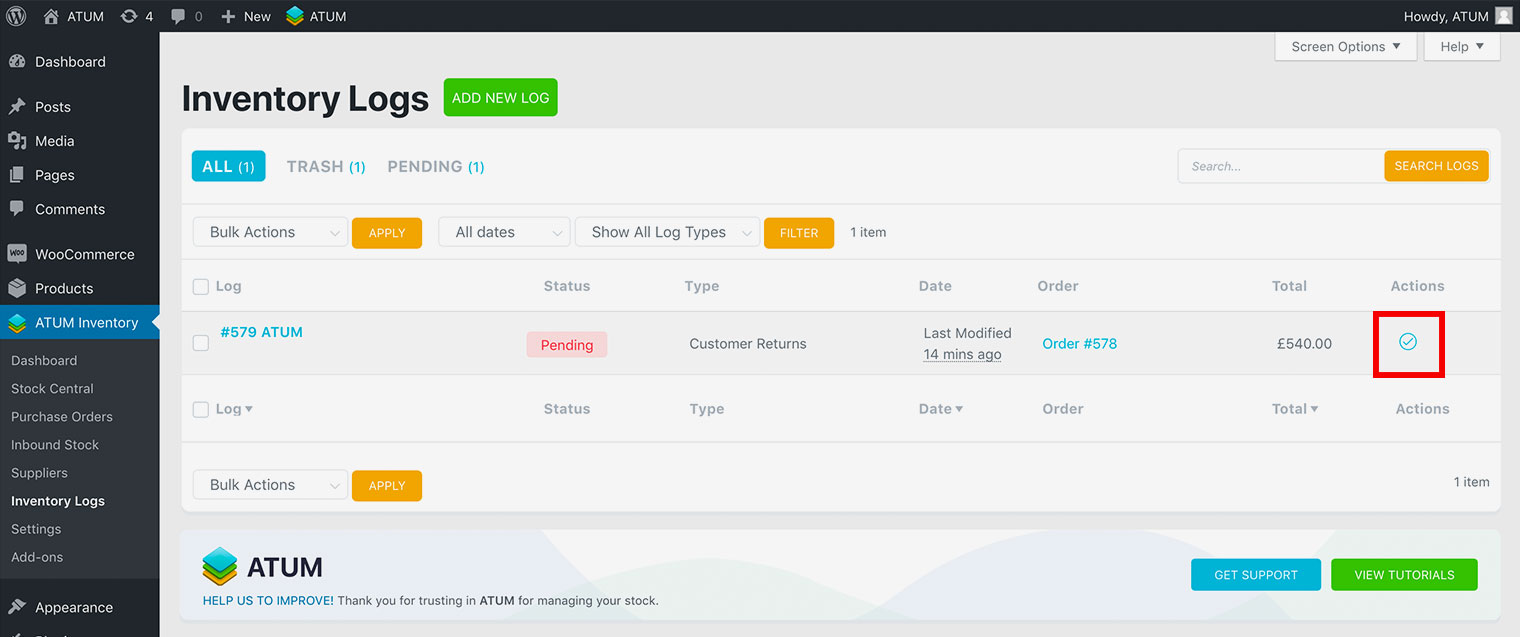
- Go to ATUM Inventory > Inventory Logs.
- From the Actions menu for the inventory log, click the Mark as Complete icon.
NOTE:
You can also do this by Bulk Actions or opening up the inventory log and then selecting Completedin the Log status menu, entering the date it was returned in the Return date field, and then clicking Update.